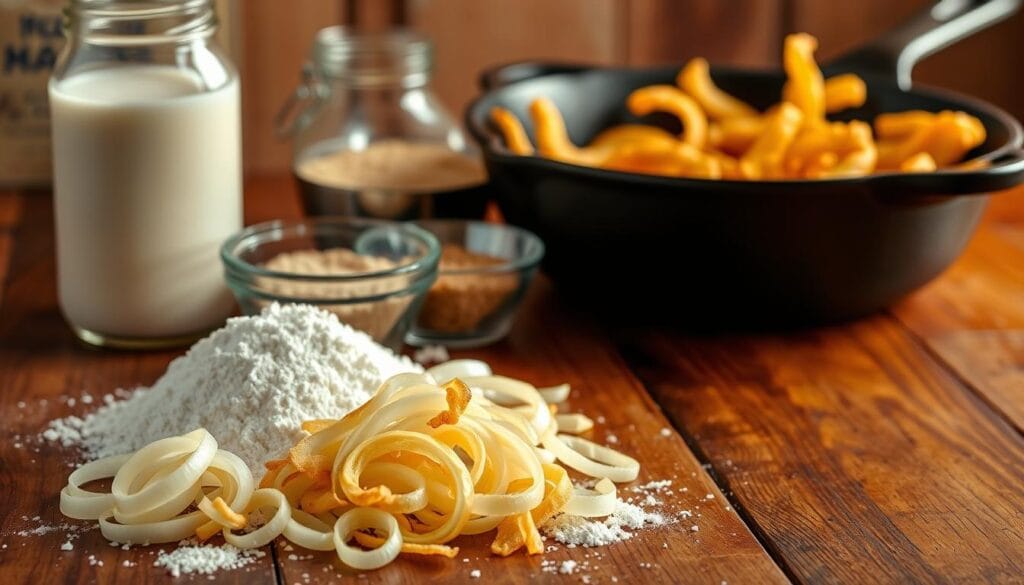
Imagine a lazy weekend afternoon with the kitchen smelling of freshly fried onion rings chips. Your craving for a crispy snack is about to be met. This simple recipe turns onion rings into a homemade treat.
No need for complicated cooking here. This recipe makes delicious Onion crisps that will wow everyone. Perfect for game night or a halal appetizer, these onion rings are a hit.
With just a few ingredients and basic skills, you can make tasty onion chips. The key is the right technique and some cooking tricks. Get ready to make your snacks better with this easy recipe.
Get ready to make the most addictive onion chips ever. Your cooking journey begins now!
Table of Contents
The Perfect Homemade Crispy Onion Rings Experience
Making your own fried onion snacks at home is a culinary journey. Homemade savory onion chips let you control the ingredients and flavors. This makes them a great alternative to store-bought snacks.

Why Make Your Own Onion Rings
There are many benefits to making fried onion snacks at home:
- You have full control over the ingredients.
- You can customize the seasonings to your liking.
- They taste fresher and have a better texture.
- It’s a cost-effective way to enjoy snacks.
Health Benefits of Home-Cooked Snacks
Homemade savory Onion crisps are healthier. You can:
- Reduce preservatives found in packaged snacks.
- Control how much oil you use and what type.
- Choose the freshest, highest-quality ingredients.
- Adjust the nutritional content to suit your needs.
Homemade onion rings are more than a snack. They’re a way to bond with your family and explore new flavors.
Essential Ingredients for Onion Chips

To make delicious onion straws, you need the right ingredients. These turn simple onions into a crispy, tasty snack. Your homemade onion strings will be a hit with the right mix of pantry staples and fresh produce.
Here are the key ingredients for perfect onion strings:
- Fresh Onions: 2-3 large sweet onions (Vidalia or white onions work best)
- All-purpose flour: 1 cup
- Cornstarch: 1/4 cup (helps achieve extra crispiness)
- Seasonings:
- Salt: 1 teaspoon
- Black pepper: 1/2 teaspoon
- Garlic powder: 1/2 teaspoon
- Buttermilk or milk: 1 cup
- Vegetable oil for frying
When picking onions, choose firm, fresh ones with few blemishes. The right onion makes a big difference in taste and texture. Sweet onions are great because they taste milder and are perfect for crispy onion strings.
Pro tip: For a gluten-free version, use rice flour or a gluten-free flour blend instead of all-purpose flour. This way, everyone can enjoy these tasty onion strings, no matter their diet.
The secret to amazing onion straws is in the preparation and quality of ingredients!
Each ingredient is important for making the perfect batch of crispy, golden onion strings. They will impress your family and friends.
Kitchen Tools and Equipment Needed
To make tasty breaded onion rings, you need the right kitchen tools. Whether you’re making classic breaded onion rings or trying blooming onion petals, the right tools make cooking easier and more fun.
Start by picking the right equipment. Some tools are must-haves, while others can make your onion ring making even better.
Essential Utensils for Perfect Onion crisps
- Large mixing bowls for batter preparation
- Sharp chef’s knife for slicing onions
- Cutting board with non-slip surface
- Deep heavy-bottomed frying pan or Dutch oven
- Wire mesh strainer or slotted spoon
- Measuring cups and spoons
- Thermometer for monitoring oil temperature
Optional Tools for Enhanced Cooking
These tools are not necessary but can help you make onion rings like a pro:
- Mandoline slicer for uniform Onion crisps
- Deep fryer with temperature control
- Cooling rack for draining excess oil
- Parchment paper for easier cleanup
- Kitchen tongs for safe oil handling
Good kitchen tools are key to making crispy, golden onion rings that everyone will enjoy.
Preparation and Slicing Techniques
Making perfect onion fries begins with the right preparation. Your slicing method is crucial for a crispy finish. Choose the right onion and cut it just right for golden, crunchy fries.
For the best onion fries, pick sweet onions like Vidalia or Spanish. They taste mild and are tender when fried.
- Choose firm, fresh onions with no soft spots
- Rinse onions under cold water before slicing
- Use a sharp knife for clean, even cuts
To avoid tears while cutting, try these tips:
- Chill the onion in the refrigerator for 15 minutes before slicing
- Cut off the top and root ends first
- Slice under running water or near a fan
There are different ways to cut onion fries, depending on your taste:
| Cut Style | Description | Best For |
|---|---|---|
| Classic Rings | 1/4 to 1/2 inch thick circular cuts | Traditional onion rings |
| Onion Straws | Thin, long strips | Crispy garnishes and toppings |
| Wedge Cuts | Thick, triangular pieces | Rustic-style onion fries |
Pro tip: Uniform thickness is key to achieving consistent cooking and crispiness in your onion fries.
Step-by-Step Cooking Instructions
Making tasty fried onion snacks needs care and skill. The secret to perfect crispy onion slices is in how you prepare and cook them. Follow these steps to turn simple ingredients into a delicious treat.
Batter Preparation Secrets
Your batter is key to making delicious Fried onion slices. Begin by mixing dry ingredients carefully:
- 1 cup all-purpose flour
- 1 teaspoon baking powder
- 1/2 teaspoon salt
- 1 egg
- 3/4 cup cold beer or sparkling water
Whisk until smooth. It’s important to avoid lumps for an even coating on your fried onion snacks.
Mastering the Frying Process
Keeping the oil at the right temperature is crucial. Use a deep-fry thermometer to keep it at 375°F. Dip onion rings in batter, letting excess drip off before frying them in hot oil.
| Frying Stage | Duration | Expected Result |
|---|---|---|
| First Fry | 2-3 minutes | Light golden color |
| Second Fry | 1-2 minutes | Extra crispy texture |
Achieving the Perfect Crunch
Double-frying is the best way to get incredibly crispy onion rings. After the first fry, let them rest for a few minutes. Then, fry them again for a quick second time to get that perfect crunch.
“The secret to great onion rings is patience and precise temperature control.” – Professional Chef
Pro tip: To keep onion rings crispy, drain them on a wire rack with paper towels. Sprinkle with salt right after cooking for extra flavor.
Alternative Cooking Methods for Onion Crisps
Want crispy onion crisps without deep-frying? You’re in luck! This section shows you tasty ways to cook onion rings with less oil.
Baking is a great way to make healthier onion crisps that are still crunchy. The trick is to use the right method to get them perfectly crispy.
Oven Baking Technique
- Preheat oven to 425°F
- Use a wire rack on a baking sheet for maximum crispiness
- Spray lightly with olive oil
- Bake for 15-20 minutes, flipping halfway
Air Fryer Method
Air fryers are a game-changer for crispy onion crisps with little oil. They give a golden-brown outside and a soft inside.
| Cooking Method | Time | Temperature | Oil Required |
|---|---|---|---|
| Oven Baking | 15-20 minutes | 425°F | Minimal spray |
| Air Fryer | 8-10 minutes | 400°F | Very little |
“The secret to perfect baked onion crisps is patience and the right cooking technique.” – Chef Michael Rodriguez
Grilling is another fun way to get a smoky taste. Wrap onion rings in foil and grill on medium heat for 10-12 minutes, turning to cook evenly.
Each method has its own benefits. You can enjoy tasty onion crisps, fitting different diets and cooking setups.
Seasoning Variations and Flavor Enhancements
Turning your homemade savory onion chips into something special is all about creative seasoning. The right mix of spices can make your snack go from good to great. Each bite becomes a journey of flavors.
Your savory onion chips can be a blank canvas for exploring flavors from around the world. The trick is knowing how different seasonings work with the onions’ natural sweetness.
Classic Seasonings to Spice Up Your Chips
- Sea salt and cracked black pepper
- Garlic powder and dried herbs
- Smoked paprika blend
- Ranch seasoning mix
International Flavor Profiles
Explore a world of tastes with these global seasoning options for your savory onion chips:
| Cuisine | Seasoning Blend | Key Ingredients |
|---|---|---|
| Middle Eastern | Za’atar Spice Mix | Dried thyme, sumac, sesame seeds |
| Indian | Masala Blend | Turmeric, cumin, coriander |
| Mexican | Chili Lime | Chili powder, lime zest, salt |
| Mediterranean | Herb Blend | Oregano, basil, rosemary |
When making your savory onion chips, keep in mind halal-friendly seasonings offer great taste without breaking dietary rules. Try out natural herbs and spices to find your favorite mix.
Storage Tips and Reheating Methods
Keeping homemade crispy onion rings crunchy is key. You want to keep that perfect crispiness even after cooking. Here’s how to do it.
For the best storage of your crispy onion rings, follow these tips:
- Cool the onion rings completely before storing
- Use an airtight container with paper towels to absorb moisture
- Store at room temperature for up to 2 days
- Refrigerate for extended storage up to 4 days
Reheating crispy onion rings needs careful steps to avoid them getting soggy. Here are your best options:
- Oven Method: Preheat to 450°F, place onion rings on a wire rack, bake for 5-7 minutes
- Air Fryer Technique: Heat at 375°F for 3-4 minutes, shake basket midway
- Toaster Oven: Use the convection setting at 400°F for 4-5 minutes
Avoid using the microwave to reheat onion rings. It will make them lose their crispiness. Dry heat methods are best for restoring their crunch.
Pro tip: For maximum crispiness, spread onion rings in a single layer during reheating to ensure even heat distribution.
Conclusion
Making homemade onion chips is a fun journey that turns simple ingredients into a tasty snack. You’ll show off your kitchen skills by making these crispy fried onion snacks. They’re easy to make and full of flavor.
Onion chips are great because you can try different seasonings and methods. This makes each batch special and unique. It’s a great way to get creative in the kitchen.
Getting good at making onion chips takes time. Begin with a basic recipe and then try new flavors. These snacks are perfect on their own, on salads, or as burger toppings. Your homemade onion chips will impress everyone with their crunchy texture and flavor.
The best part of making Onion crisps at home is controlling what goes into them. You can avoid preservatives and make them taste just how you like. This recipe is perfect for anyone, whether you’re new to cooking or have lots of experience. It’s a simple way to enjoy a classic snack.
Start making homemade Onion crisps and enjoy the fun of creating tasty, crunchy snacks in your kitchen. Your taste buds will love the delicious flavors!


